Medical App & Medical Advice with Hello Doctor

Can your smartphone cause textitis?

You’ve been shooting texts back and forth for hours. Your neck and wrists are aching, but texting is harmless, so it couldn’t be the culprit, right?

Unfortunately, it could. You could be developing textitis.

Are you a victim of textitis?

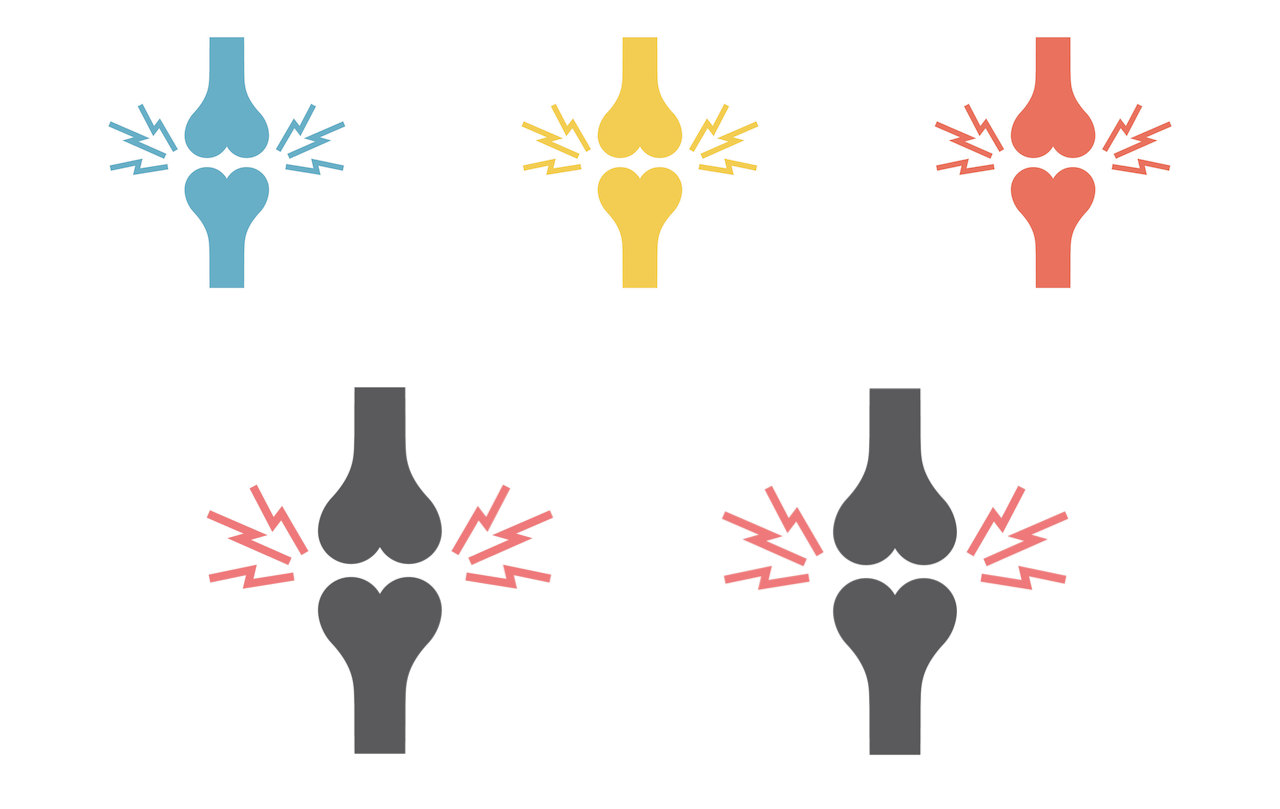
Coined by American hand surgeon Dr Mark Ciaglia, textitis (osteoarthritis) is caused by excessive texting or typing via your cell phone, laptop, tablet or any other electronic device.

This can lead to neck pain, elbow pain, hand, wrist and thumb pain, as well as numbness and tingling in the arms, forearms, hand, and fingers. Most of the problems involve the thumbs, pinkie fingers, and wrists.

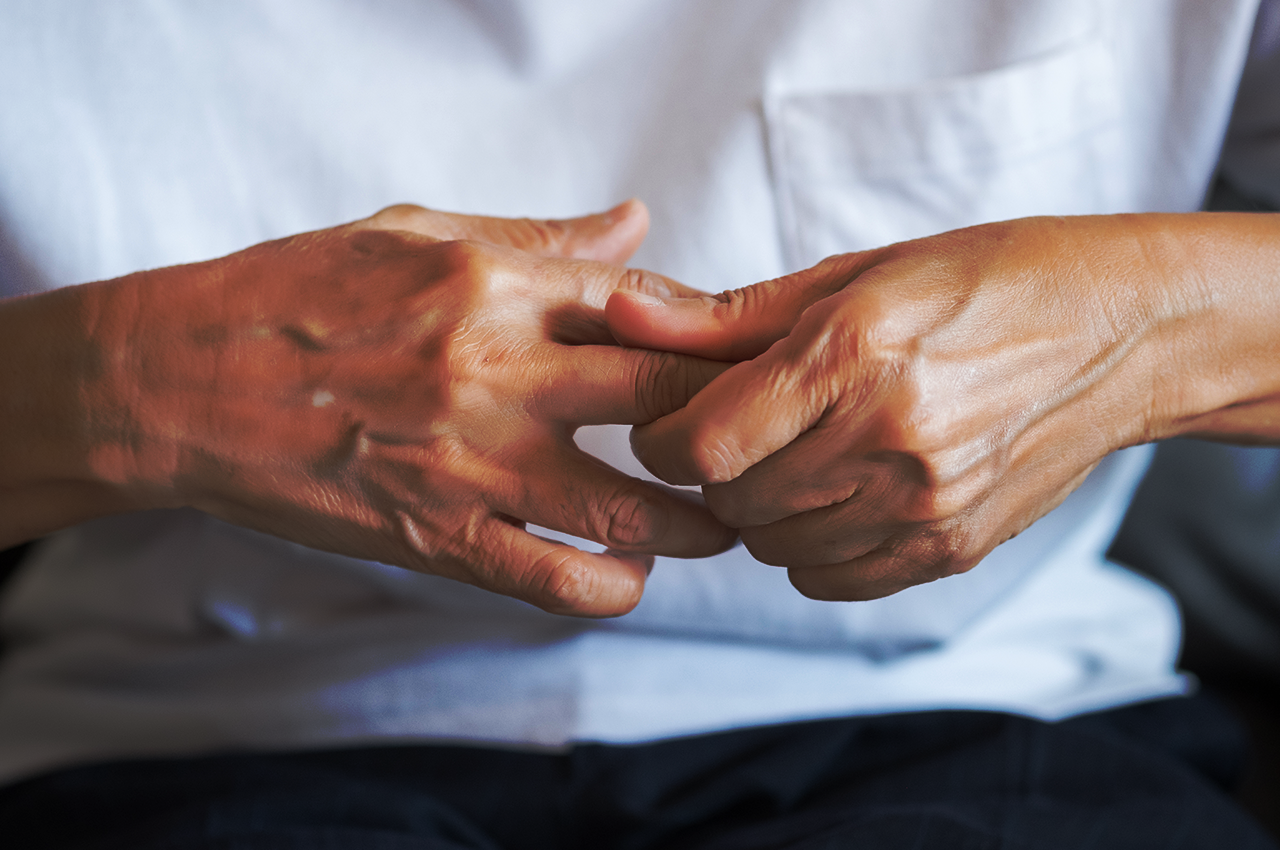
Texting thumb, also known as trigger thumb or gamers thumb, is a common problem as texting involves hand motions that put stress on several small muscles, tendons, and nerves in your fingers and wrists.

These repetitions can lead to inflammation and pain and may sometimes even require surgery. The condition affects the tendons on the thumb side of the wrist.

According to the National Centre for Biotechnology Information in the US, there has been an increasing number of younger people around the world with musculoskeletal disorders (MSD) of the hand, wrist, forearm, arm and neck.

While there may be no cure for this condition, a combination of rest and treatment can help alleviate pain and restore flexibility.

Treatment may include:

  • Oral pain medication and anti-inflammatories
  • Occupational therapy
  • Injections and sometimes even surgery

Prevent textitis

Fortunately you can prevent discomfort with these easy tips:

  • Stretch. Open and close your fingers throughout the day to keep your tendons nimble. Wrist circles can also help.
  • Limit time spent gaming, texting, etc.
  • Get some thumb rest. Use your index finger to text or try the voice feature on your phone to send messages.
  • Call, don’t text. Try chatting rather than texting or emailing.
  • Soak your thumb in warm water during regular breaks
  • Acupuncture
  • Track your smart phone usage and think of different ways you can cut back. If you find yourself spending more time with your phone than with your friends and family, try and put your phone away during dinner. Enjoy some human interaction and conversations with your loved ones.

For your hand, fingers and thumb

  • Curl your fingers and thumb into a tight fist then straighten your fingers as far as you can go without pain.
  • Start with your fingers fully extended and together, now spread your fingers apart as far as you can go – again without pain.
  • Move your thumb to each fingertip beginning with your index finger and finishing with your little finger.

Wrist

  • Hold your arm in front of you with your elbow extended, flex the wrist forward. Repeat with wrist extended. (Hold for 20 seconds on each side)

Neck

  • Use your hand to gently pull your head to the side and rotate your nose towards the same shoulder. (Hold for 20 seconds on each side)

Shoulders

  • Roll the shoulders 10 times forward and 10 times backward.
  • Perform 10 big-reaching shoulder circles with arms extended

References:

Broth recipes that could help with that joint pain

Rich in nutrients, bone broth is packed with vitamins, amino acids and essential fatty acids.

It’s made by boiling down meat bones and connective tissue together with vegetables. The savoury, nutrient-rich liquid can be used as a base for soups, sauces and health drinks.

Bone broth has amino acids that help support joint health thereby relieving symptoms of conditions such as arthritis.

Just like stock, bone broth is often graded by its thickness; thanks to the collagen-rich gelatine released from marrow-rich bones and its long cooking time.

To get some important nutrients, cook some broth with these healthy recipes.

Home-made broth stove top

Ingredients

  • 1kg chicken, turkey, pork, beef, lamb, or other bones (try to get bones that have lots of connective tissue (feet, knuckles, necks, backs, etc.)
  • 1 tsp apple cider vinegar
  • 4 cups roughly chopped carrots, onions and celery
  • 2 bay leaves
  • ½ tsp peppercorns
  • 1 tsp sea salt
  • Filtered water

Method

  • In a large soup pan, place the bones, apple cider vinegar, carrots, onions, celery, bay leaves, peppercorns and salt.
  • Fill pot with filtered water until it covers the bones by about 2cm. Let the mixture rest for 30 minutes.
  • Bring to a simmer over medium-high heat, then reduce heat to as low as your stove will go. It should be just be barely bubbling. Cover with the lid slightly ajar and cook for 24 hours for poultry bones and 48 hours for red meat bones. If you’re not comfortable cooking overnight on the stove, you can place the whole pot (covered) in the fridge overnight, and restart the cooking time in the morning.
  • When cooking time is up, strain through a fine mesh sieve, and transfer to jars for storing in the fridge or freezer.
  • Once chilled, the broth should be jiggly and have a layer of fat on top. Scrape off the fat and use it for other purposes, if desired.

Slow cooker bone broth

Ingredients

  • 2 carrots chopped medium
  • 2 celery stalks chopped medium
  • 1 medium onion chopped medium
  • 2 cloves garlic
  • 1.5 kg beef or chicken bones or combination of both
  • Salt
  • 2 tbsp apple cider vinegar
  • Water

Method

  • Place the bones in your slow cooker. The bones should fill up about Âľ of the slow-cooker.
  • Chop your vegetables and garlic, no need to peel. You can also add vegetable scraps and rinsed, crushed egg shells into your slow-cooker. You’ll be straining these out before consuming the broth.
  • Fill the slow-cooker with water. Season with a generous amount of salt (about 1 teaspoon).
  • Add 2 tablespoons of apple cider vinegar (you won’t notice the taste).
  • Cook on low and cook for 18-72 hours.
  • Strain the broth through cheesecloth or a strainer and cool. A good broth will usually have a layer of fat on the top and will gelatinize when thoroughly cool. Remove the fat with a spoon and discard.

References:

Make arthritis better with these simple steps

You’ve been diagnosed with arthritis – what does this mean? Arthritis is felt by pain in your joints. You may find these joints swelling, getting stiff and find it difficult to move. With arthritis, the pain can be worse on some days and mild on others. In severe cases, some people can’t walk or climb stairs.

There is hope though. Surgery (like joint replacement) is a possibility that can help down the line.

In the meantime, exercise can go a long way in easing your symptoms.

Having arthritis is not a death sentence 

There’s a lot you can do to manage the pain and discomfort of arthritis. For starters, you can lose excess weight to help lessen the pressure on your joints. A healthy diet, moderate exercise, experimenting with heat and cold compresses, protecting your joints and continually checking in with your doctor are all important steps. Your doctor is in the best position to discuss pain-relief treatment or surgery suited to your specific situation.

Exercise can:

  • Give you the strength and energy you need to make it through the day.
  • Help strengthen the muscles around your joints.
  • Help you to get a good night’s sleep.
  • Assist you in maintaining bone strength.
  • Control your weight (less weight means less pressure on joints).
  • Improve your sense of wellbeing.

Get moving!

Fitness experts and physical therapists agree that when it comes to arthritis, stretching, strength training and low-impact aerobics can give you amazing results in terms of pain management.

These exercises are gentle enough to work well for arthritis sufferers:

  1. Walking

With our dependence on cars and other modes of transport, we don’t walk enough. Yet walking is really good for everyone (unless it’s too painful). Even just maintaining a moderate pace for about 40 minutes around the block or through the park can do wonders for your heart rate and bone strength. The further you walk, the greater your endurance. But even 10 minutes at a time is a good start.

  1. Water aerobics

This form of aquatic fitness can give you a full-body workout and be done at the public pool at a fraction of the cost of a gym membership. For starters, you can use the shallow end of the pool and walk at a brisk pace from side to side. Gyms also offer this form of exercise and some even have bicycles in the water for training.

  1. Standing up from the chair (Chair stands)

Chair stands are good for building stronger arm and leg muscles and can be done in the comfort of your home or even at the office. While sitting at a normal height, stand up and then sit down (without flopping down) by just using your legs for support. To target the arm muscles, use only your arms to raise and lower yourself into your chair. Aim for 10 to 15 reps.

  1. Pilates

This is a great way to stabilise joints and strengthen the muscles that support the joints. It’s not as complicated as yoga but has really good benefits for arthritis sufferers who need to build stronger muscles. Most gyms offer Pilates, but if yours doesn’t, you can always find an instructor online.

Exercise should be enjoyable, even with arthritis, so take your time and pace yourself carefully. Listen to your body and never try to exercise through the pain.

References:

How to get a frozen shoulder moving again

Are you suddenly having trouble reaching for your phone or the remote control? Do you sometimes need help to get dressed? The pain you’re feeling could be the result of a frozen shoulder. It’s uncommon in young people, and mostly affects men and women between the ages of 40-60 years.

The gradual loss of movement in your shoulder (also known as “adhesive capsulitis”), is an inflammation of tissue surrounding the shoulder joint. The joint in the shoulder consists of a ball and socket that’s freely movable. When the shoulder is frozen, it simply means that the joint is stuck and its movement is limited.

What are the causes?

The tissues that wrap around and hold the joint together are called the “capsule”, normally has folds that can expand and contract as your arm moves into different positions. When the capsule becomes inflamed it results in a frozen shoulder which leads to scarring. As the capsule’s folds become tighter, thicker and more scarred, your shoulder movements become more restricted. Moving the joint becomes difficult and painful. A frozen shoulder has three stages that cause stiffness, pain and swelling.

  1. Freezing. This is the onset of pain and stiffness in the shoulder. This phase is known to last for about two to nine months.
  2. Frozen. The pain may reduce but the stiffness remains. Symptoms during this phase can last between four to 12 months.
  3. Thawing. You’re on the road to recovery! Your shoulder may slowly regain movement, and there’s a gradual decrease in pain that can go on for about five to 12 months.

Am I at risk?

Diabetics, people weakened immune systems, and/or those with hormonal imbalance are at risk of developing a frozen shoulder. You could also develop joint inflammation if you’ve been inactive from an injury, surgery or illness.

Help at hand 

Early treatment can help keep the condition from getting worse. If you’re diabetic, it’s important to keep your glucose-levels well. In most cases, though, a frozen shoulder can get better on its own without treatment, although some people never fully regain their motion.

  • Physical therapy: Stretching your shoulder joint carefully and gently over time will help regain lost motion along with daily exercises. Speak to your doctor about alternative options.
  • Medication: Your doctor may prescribe anti-inflammatory medication to treat pain and joint inflammation. A steroid injection may also help.
  • Home care: Place an ice pack on your shoulder daily to help alleviate the pain. Ask your physio for a few at-home exercises too.
  • Surgery: This is the last resort! If physical therapy doesn’t improve your condition, surgery may be your best bet. Arthroscopic surgery may be recommended. This involves a small incision in your shoulder, and removal or release of scar tissue using a small camera (arthroscope).

References:

What you need to know about osteoporosis

Remember your mother telling you to drink your milk for strong bones and teeth? Was it true? What does science tell us? Today, we unpack the truths and myths of osteoporosis.

What is osteoporosis?

Osteoporosis is a disease in which the density and quality of your bones is reduced. Your bones literally “thin” out and become brittle, increasing your risk for bone fractures. But there’s still much confusion about the silent disease.

Myth 1: It’s not a common disease.
Fact: Osteoporosis is responsible for more than 8.9 million fractures annually, resulting in an osteoporotic fracture every three seconds.

Myth 2: Only women get the disease.
Fact: Osteoporosis affects men too. In fact, one in five men will develop the disease.

Myth 3: Osteoporosis only affects the elderly.
Fact: Osteoporosis can affect both women and men in their mid-30s or even earlier.

Myth 4: A lack of calcium causes osteoporosis.
Fact: Inadequate calcium intake is a risk factor, not a direct cause of osteoporosis. Other risk factors include smoking, drinking, being unfit, low testosterone levels, and a low body weight.

Myth 5: If I drink a lot of milk, I won’t get osteoporosis.
Fact:  Milk and other dairy products are a main source of calcium. Calcium is one of the most important nutritional building blocks in our body, so yes drinking milk is a good way to meet your calcium needs. But it isn’t the only way. Other foods rich in calcium include canned sardines and salmon, collard greens, kale and broccoli.

Myth 6: Calcium is the only important nutrient for bone health.
Fact
: Vitamin D is also essential as it helps your body use calcium. If you don’t get enough vitamin D, or if your body doesn’t absorb it well, you have a high risk for osteoporosis. Your skin makes Vitamin D when it’s exposed to the sun. It can also be found in beef liver, eggs, cheese, fish and fortified dairy products.

Myth 7: My mother has it, so I will get it too.
Fact: A close relative who has had osteoporosis or an osteoporotic fracture can increase your risk for osteoporosis. That doesn’t mean you’re doomed to developing the disease. Osteoporosis is preventable, and it’s important to take preventative methods as early as possible.

Myth 8: Belly fat can protect against bone loss.
Fact: For years, it was believed that obese women were at lower risk for developing osteoporosis, and that excess body fat actually protected against bone loss. But research shows that having too much internal abdominal fat can have a damaging effect on the health of your bones.

Myth 9: Osteoporosis drugs are all you need to build bone mass.
Fact: Besides taking your medication, exercising, following a healthy balanced diet, reducing your alcohol intake, and stopping smoking can go a long way in improving your bone health.

Myth 10:  It’s too late to do something about osteoporosis once you have it.
Fact:
It’s never too late. With the right medication and healthy lifestyle choices, you can slow the progression of the disease and lower your risk for fractures.

Work your bones

Exercise can help strengthen your muscles and improve overall bone health. Weight-bearing exercises like walking, running and climbing stairs, are particularly effective in helping build bone mass, increase bone density, and slow down age-related bone loss. Weight training also helps strengthen bones and muscles, which in turn reduces the risk of falls, fractures and broken bones.

References

4 Hot tips to soothe those winter joints

You don’t need a weather report to know that winter’s coming – the twinge in that old knee injury already warns you. And you aren’t imagining it: research shows that a drop in temperature can lead to more aches and pains. Here are some practical ways to manage your discomfort this winter.

Food and drink make a difference

Warm drinks help keep your body warm, and keeping your body warm will help alleviate joint pain. Don’t go for too much caffeine, but opt for tea and a hearty winter-soup. To further strengthen your bones, and decrease your risk of osteoporosis. the Arthritis Foundation also recommends a  diet rich in calcium. That doesn’t just mean milk – think salmon, yoghurt, broccoli or figs.

Keep your weight down

While it’s natural to want to eat more when it gets colder, excess weight puts pressure on joints already under strain. Shedding those extra kilo’s is especially important if you’re suffering from joint pain.

Flex those joints

It’s tempting to stay warm inside when the weather is cold and grey, but staying inactive can cause joint pain to flare up. You need regular movement to keep joints lubricated! Do stretches, indoor swimming, yoga – anything that you enjoy and can do daily. But listen to your body and don’t overdo it if you are hurting.

Take a warm bath

A hot bath can have real benefits, as long as you’re not also suffering from high blood pressure – if you are, stick to warm water. Add a handful of Epsom salts, which are rich in magnesium. This mineral is also important for bone and heart health.

The pain will pass

When weather-related pain strikes, it isn’t a permanent change and it will change when the weather lifts. Research is ongoing, but the discomfort is caused more by barometric pressure, than the actual cold. As soon as the pressure lightens, you should feel the pain reduce. Just keep warm, and do those gentle stretches

Source

http://www.communityhealthmagazine.com/family/seniors/article_9e3b276e-6e8c-11e4-b122-7baf4f3a73f6.html